Monday, June 13, 2016

CNC: Come to Fruition

So THIS happened, nbd:


And you may be wondering:  how did such a PERFECT, wooden circle come into being?  CNC, baby.  That's how.


I'll spare you the gritty details, dear reader, involved in tackling the learning curve to use this beautiful beast.  But suffice it to say, it was hard.  Like, really, really hard.  And totally still is.  The amount of learning still left is overwhelming to say the least.

Ok, I take it back.  I need you to feel at least some of the pain.

Building it: That was hard.  But not as hard as I thought.

Testing it:  That was positively terrifying.  You guys, routers spin fast.  Like, kill-you fast.  Say you were to run up to me with a helium balloon and a pin.  I would quickly run away from you.  I just can't take that kind of pressure.  So you can imagine how calm I was for Test #1.

Feeling confident that I tightened everything adequately to avoid it vibrating to pieces and murdering my face:  Not very.

Learning how to get from CAD software to CAM software to Controller software without mucking up the Gcode and, you guessed it, having it murder my face:  So very difficult.  And each job is a new murder-adventure possibility.

Understanding how the speed of the router interacts with the feed rate of the machine and how deep you're cutting in one pass, and how that depends on the material and what size bit you have and how rigid your machine is, and how many flutes the bit has, and whether it's an up or down spiral, and whether you should leave an onion skin at the bottom and risk the wood not being consistent by thousandths of an inch or just go with tabs but then need to master a new CAD/CAM program that can handle the tool paths for that, and how to clamp the workpiece to the spoil board so it won't (well, you know), and on, and on, and on:  Shall we just say mind numbing and call it good?

Anywho, it's exciting and terrifying, and a bit of a love-hate-mortal dread relationship right now.  But the take home for you is, if you don't hear from me for a couple of weeks, you'll know what happened.


(In case you wanted to nerd out, you nerd:   )


Tuesday, May 10, 2016

Post-Apocalyptic Table + Wire Wrapped Ringzzz

As some of you may recall, my CNC baby was born last week.  The UPS stork dropped him off on my doorstep, and it was love at first sight, despite the sleepless nights.  (Remember: CNC machine is basically a computer-controlled router that will cut wood for me in THREEE dimensions.  No big deal except it is :D )

And while assembling this beautiful creature will be no small feat, first thing's first.  When something weighs more than a typical adult and has the potential to "kill you so hard," one must prepare proper accommodations.  Thus, project CNC Table was begun.  And trust me, this thing will survive a nuclear blast, and you'll hardly even hear the impact thanks to the Torsion Box of Destiny.

Here is your tutorial:


Step one: Scour the CNC forums, a delightful hive of knowledgeable nerds and only mild villainy.
Step two: Fool little brother, who just got a Master's in engineering, into helping.  Promise him food and that "it will hardly take any time at all."
Step three: Buy SO. MUCH. WOOD.
Step four:  Build a torsion box (as pictured above) so that vibrations and noise will be reduced, because science.


Step five: Be a dummy and get minor injuries throughout the whole process.


Step six: Give each leg three 2x4s and bolt those things to the torsion box like your life depended on it.  (Because... it actually kind of does...)


Step seven: Create a storage deck with cross supports, plus leg supports.  Make sure little brother can jump on it with no wobbling.

Step eight:  Saw, saw, saw, bolt, bolt, bolt, screw, screw, screw, jump, jump, jump.


Step nine:  Pose triumphantly on top of your hearty table to prove that it can hold an adult, that you know how to hold a drill, and that pictures of yourself actually do exist. (And don't worry, I'm about to become unaffiliated with that poor, broken elephant on my shirt :(  )

And there you have it.  It's too heavy to move, so I hope Chris doesn't mind parking in the driveway for the rest of his life.  

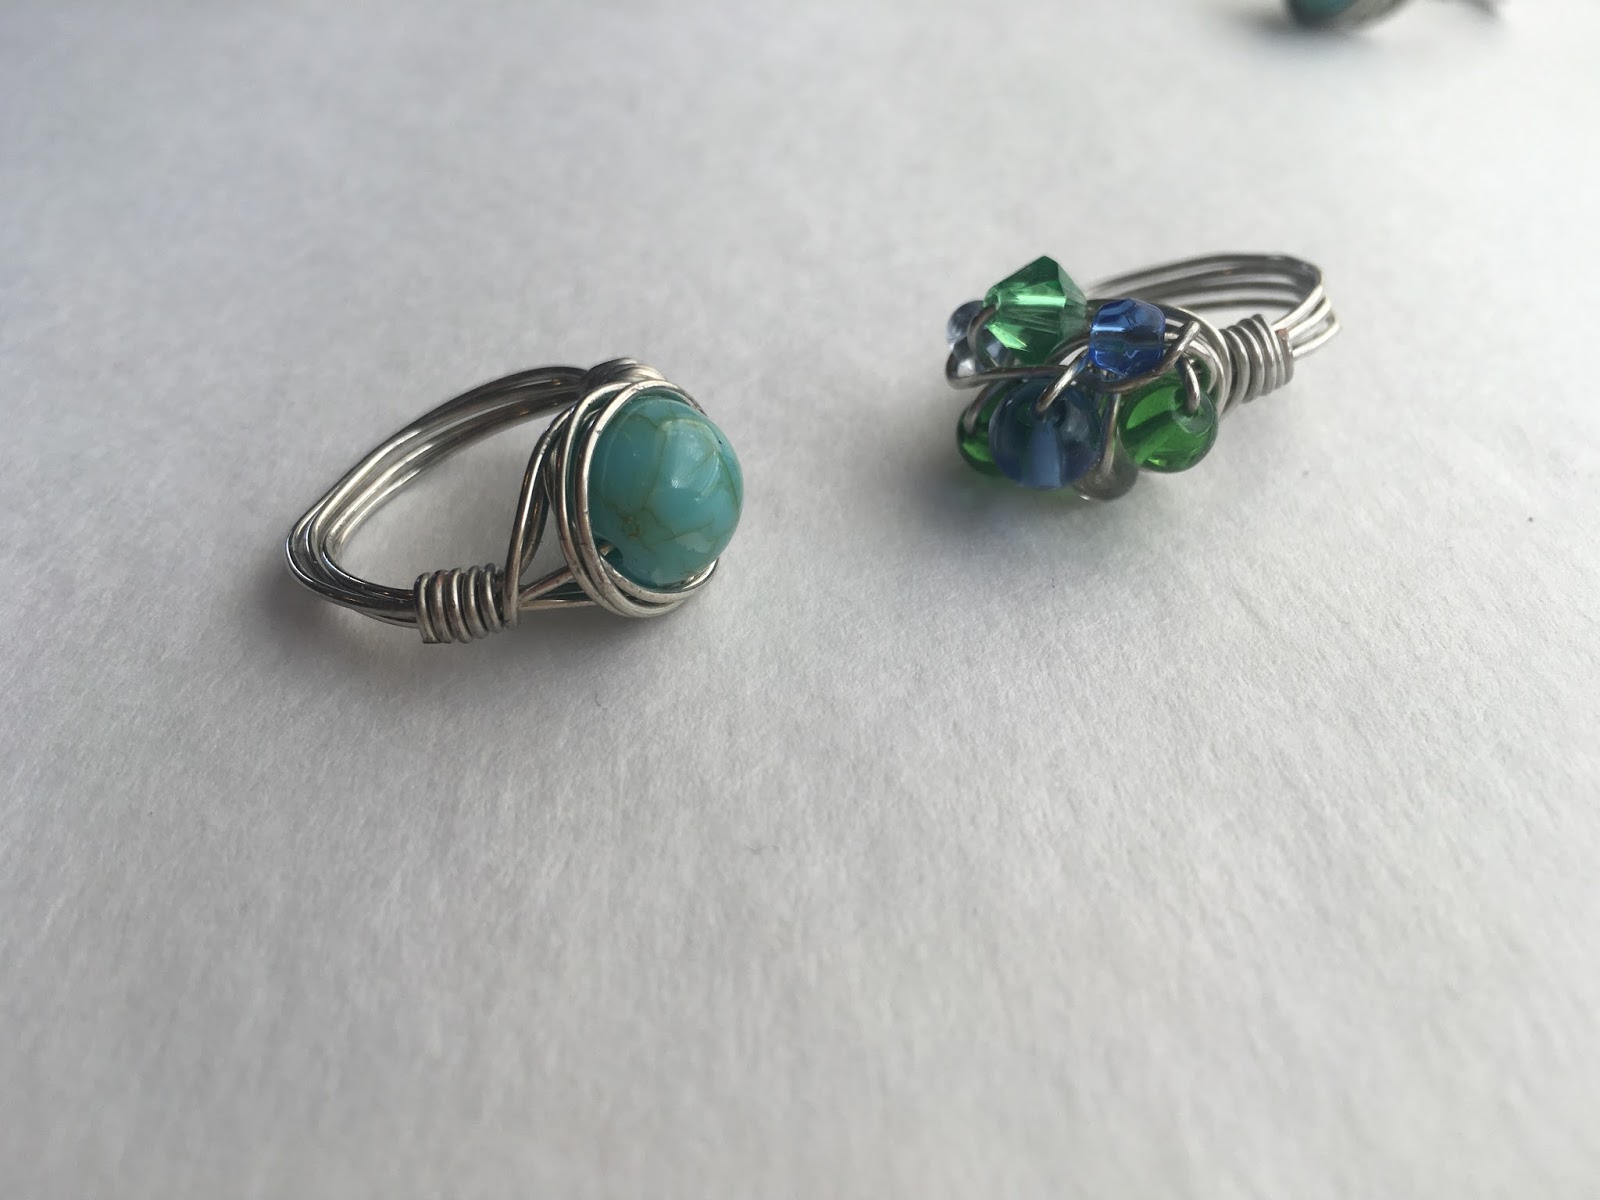
And since there's just no good way to transition smoothly to this, I'll make this as abrupt as possible.  Oh hey, look at these wire wrapped rings I made with my Activity Day girls.  (You know, since this blog is about stuff I make...)


I still can't bring myself to wear jewelry, so they're up for grabs if I like you. (So don't even bother asking, Helen Hunt.)

Saturday, January 30, 2016

Nerd Earrings?? Don't Mind If I Do.

As you may recall, dear reader, this blog is my makin' stuff archive.  And while that stuff usually consists of woodworking and home improvement projects, I do like to dabble elsewhere.  (I was hoping you had forgotten by now about my miniature [non edible] artisan bread phase...)  And since my life has been consumed as of late with this other project I made,

()

...I've been relegated to creator of ShrinkyDink earrings.

Now, now.  It's not just for kids.  Well...ok, I did buy the supplies to use for my Activity Days girls, so I guess it is for kids.  But in testing out my planned activity, I rediscovered how amaze-balls shrink art is. (Credit to MaryAnne Loveless for being the kind of mom who just always had shrink art on hand.)

I'm going to have the girls make CTR rings and earrings, so my very scientific material test of course involved BB-8 earrings.  And I'm the first to admit that I'm a fair weather fan (JJ revivalist) of the Star Wars franchise.  (Oh just admit it, without your nostalgia goggles, the old ones are mediocre movies at best.) But what kind of sociopath doesn't love BB-8, answer me that??


So anywho, I did a quick rough sketch with this delicious pack of ultra-fine-tipped Sharpies, cut them out, and had an anxiety attack watching them shrink.  (Oh, you know shrink art... they're not going to make it, there's no way that's not just rolling up on itself, why didn't I just go with a triforce, no, no, no, no, no....oh, they're fine.)

Then I took the cooked pieces up to my tiny little sanctuary of order and delight.  (Remember this beautiful monument to organization I built?  All babies are strictly prohibited. Oh that's right, because it foooooolds up, yo.  Drop the mic.)


So then I attached some jump rings and earring hooks, et voila!  Nerd earrings (that I'll probably just give away to the best behaved Activity Day girl, since I'd be an imposter if I actually wore Star Wars earrings.  But, you know, awwww, BB-8!).


I have to say, craft projects designed for children emit far less swearing.  And I'll be honest, if there are any leftover supplies, I'm totes making more nerdy plastic jewelry.  Except I'll pick a franchise that didn't blow it with its first 6 films.  So then I guess Rocky is out.  (ZING!)


Wednesday, September 23, 2015

Murphy Desk FTW

I'm'a make this a quickie since I'm in a mad dash to make a place for a certain baby who's due to arrive in a mere five weeks.  (!!!, right??)

So since said baby shall require room and board, I had to move all my supplies of a crafty nature to the "bonus" room, which now functions as a craft room, office, music room, exercise room, lounge area, playroom, and casino.  (Hint: only one of these is a lie.)

The solution?  Murphy desk that son'bih!


I got the plans from Ryobi Nation, snagged some pine from my new lumber source, and the usual festivities ensued: measuring, measuring again, sawing, sanding, gluing, pocket hole jointing, hinging, swearing, priming, painting, clear coating, hardware-ing, wedging, mounting, and then filling up with my sexy-sexy art supplies.


What's that?  You wanted a closer look at that organization porn?  I'm happy to oblige.


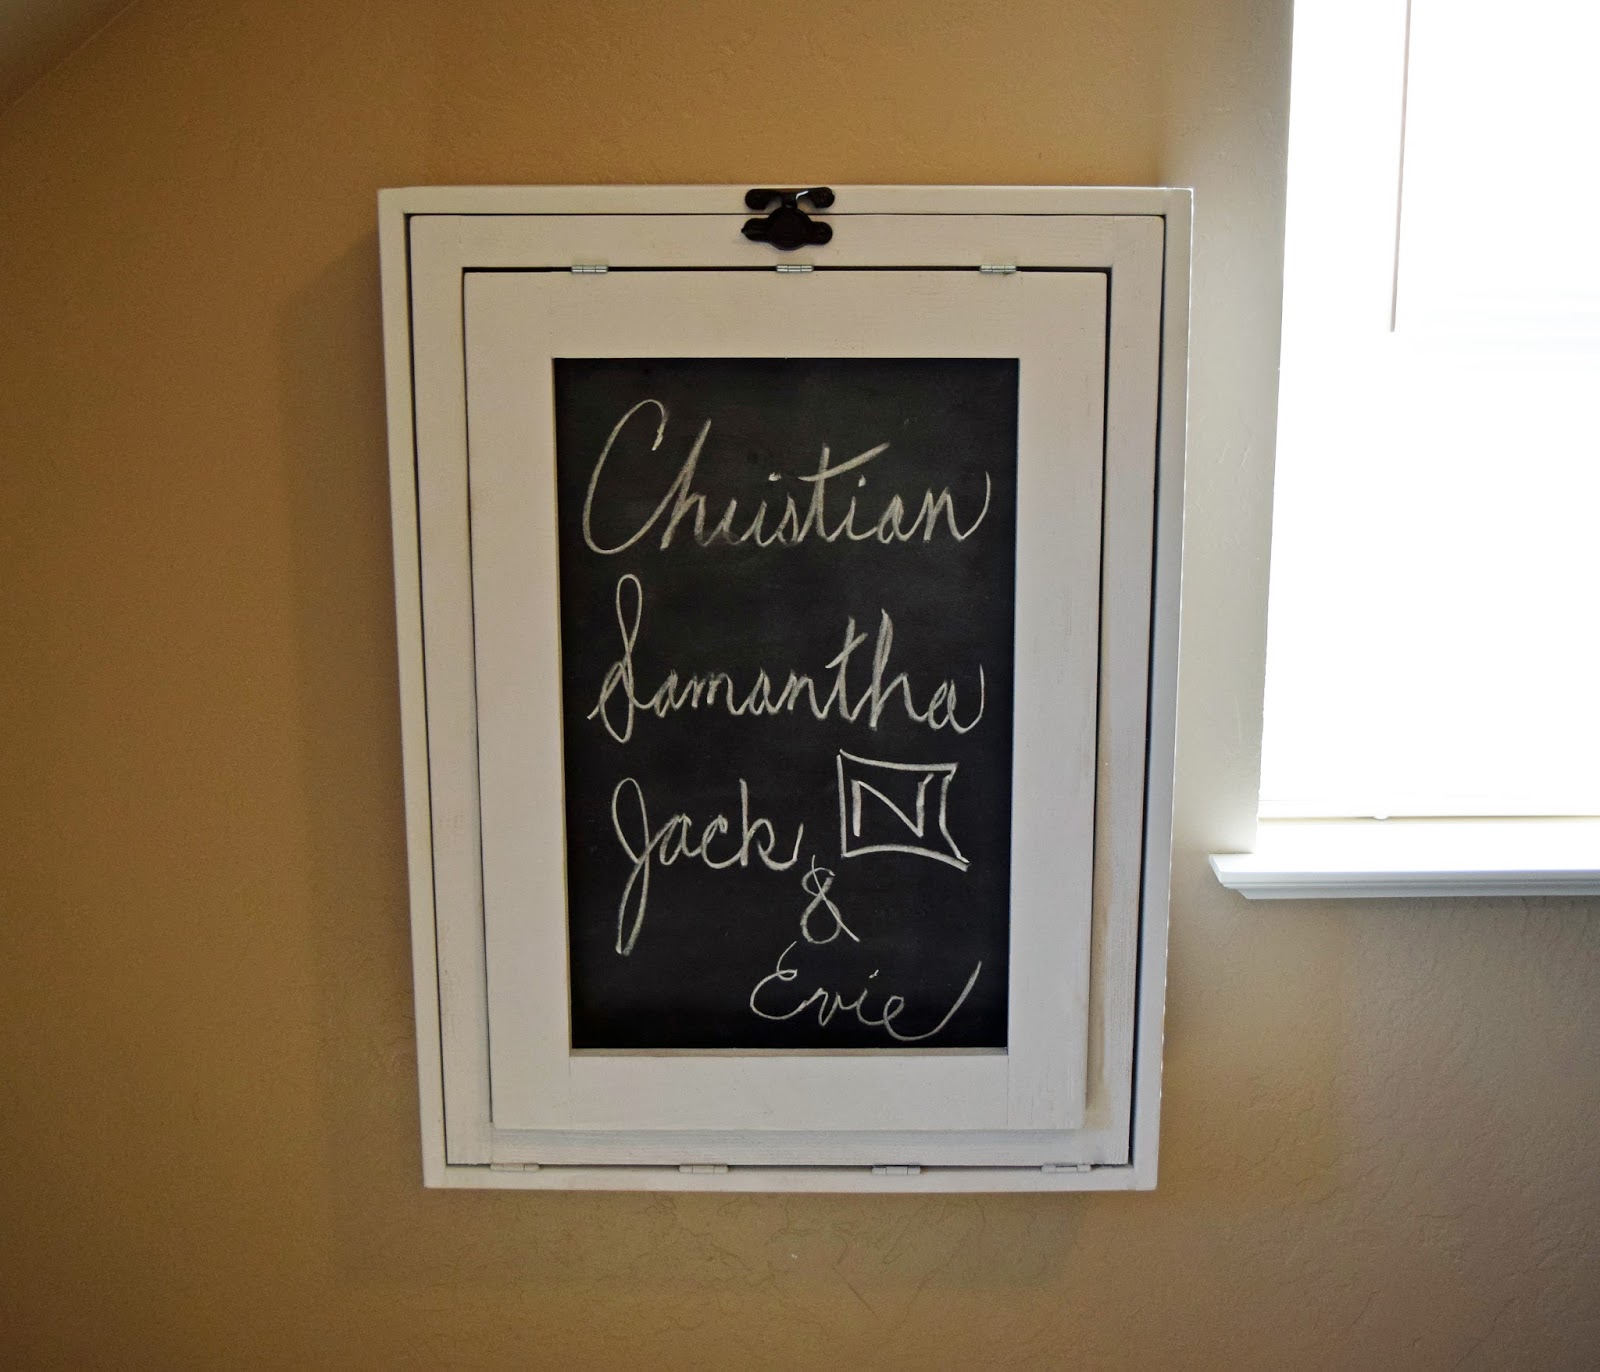
And of course, it wouldn't be Murphy if it didn't fold up nice and compact.  I went with a chalkboard on the front face and Christian took it for its maiden chalky voyage.   (And you know that means I had to erase something mildly inappropriate before snapping the picture.)


Overall, this project is rated approximately 8 swearwords and most definitely worth the effort.  If someone would just come and do the dumb painting for me, we'd be in the 4 swears realm.  Now come join me for some spatially efficient crafty time  :)

Sunday, August 23, 2015

Drawers to Fill the Void


So you know that gaping void in your life?  Don't worry, I won't be waxing existential.  I'm just talking about the top shelf of our dresser.  We bought this a few years ago as a "media center" or something, so the top shelf was intentionally left blank to put, I dunno, VCRs or something in there.  And since we don't allow ourselves to have TV in the bedroom (don't worry, we're not being pretentious, it's because the temptation to become a slothful, unrecognizable thing would be too great), there the gaping holes remained for those several years.

Here's a purposefully crappy depiction:  (And yes, that's a pile of pigs on the top. Did you want to talk about it?  And yup, those are some dead flowers I thought added to the voidy ambience.)


And here's one where I briefly caught a half-naked baby sighting:


Anywhos, I first looked into just buying some baskets or non-tacky totes.  But one:  baskets are butt-expensive it turns out; two:  I couldn't find any with the proper dimensions that would adequately utilize the space (must. not. waste. space.); and three:  wicker makes me a little uncomfortable.  (I want you to think about it until you think so, too.)

So I decided to build les boxes with scrap material.  And I learned some things.  Namely, if bugs wig you out, you shouldn't dig through a mound of wood that's been in the garage for over a year.


BUT, after several moments of entomological horror, a sprinkle of bad words, some measuring, some sawing, some re-measuring and re-sawing, some wishing I had a table saw to cut the time involved by 75%, voila--I had the boxes.


I then mod podged some scrapbook paper (I know, right? Who would have pegged me to ever own scrapbook paper) to the faces, hot glued some felt to the bottom so as not to scratch up the void, and attached some delectable little glass knobs to the fronts.  And blessed day, they fit perfectly.  (PS-Christian did some hardcore manning by cutting down the knob bolts for me.  I don't do Dremel sparks. But I also didn't want to go to the store for shorter bolts.  Go, man-Christian.)


So all in all, these bad boys cost me $3.56 for the knobs and a few frustration bucks.  I'm giving this project a For The Win rating.  

(Oh and also, no judgy-judgy on the dresser-top decor.  That's step two for room beautification.  I'll get rid of those dead flowers when I'm good and ready.)


Saturday, July 18, 2015

Crate of the Union

So we've been storing Jack's toys in an old diaper box.  And as classy as that is, I figured it was time to upgrade to an actual toy box.  The solution, I thought?  Crate!  Can't go wrong with crates.  No one ever goes wrong with a crate.  In fact, people evidently love crates so much, they're naming their kids Crayton.  (How I wish that were made up...)


And nothing went wrong per se, I just (AS USUAL) significantly underestimated the time and effort involved.  The real culprit was the crappy 1x3 furring strips I always buy because they're cheap.  I realized as I was making it, that since little, white, doughy hands were going to be groping around in there, I better make sure they wouldn't get skewered by the massive-angry slivers so popular in this type of wood.

Here you can see those doughy hands:  
(Aren't they just the cutest dough hands, unmarred by raging skewers of rogue wood?)

 
Anywho, an incredible amount of sanding ensued, which turned the project into a several day deal.  Some measuring, cutting, staining, gluing, nailing, and polyurethane-ing happened. Et voila. Le crate.  He seems to be pretty happy about it.


Until he realized, while tooching, that he can't quite reach the bottom of the box.  My bad.


So on this one, my verdict is probably to just buy the $12 crate from Walmart, even though it doesn't look as schnazzy and isn't the right size you probably need.  This one cost me about $5 in materials, but all sanding and little savings margin make Sam a dull girl.

Saturday, July 4, 2015

Behind-the-Door Bookshelf Bonanza for $8

You may be asking yourself why I call everything a bonanza, and I would counter with, why aren't you calling everything a bonanza?  Don't be so hard on bonanzas; they can help you out with an alliteration in a pinch.

So I decided I wanted a place for Jack's books where he could no longer maim the ones in any kind of decent shape.  And stealing from the archives of the internets yet again, I made these delectable bookshelves behind his door.  (See how the books out of toddler reach have not been taped together 80 times?  Thems books ain't fer readin', just lookin' at.)

And the beauty is that I only used two furring strips, totaling $4.  I was going to use another set of strips for the lips of the shelves, but do you recognize that tongue and groovy groove?  I found a most satisfying use for some of our leftover hardwood flooring, and I think the groove adds a nice l'il detail to an otherwise drab bookshelf lip (Oh, you know how drab bookshelf lips can be).

So after cutting the wood to size, painting everything white, and locating our studs, I pulled out the ol' measuring tape and calculator, determined the most efficient spacing of said shelves, and went to work attaching them to the walls.  But here's the thing.  My beautiful internets led me astray.  I was led to believe that I could drill a screw right down the skinny face of the 1x3s, right into the wall with a 3" screw.  ...  But no.  Nnnope, bad idea.  Just not enough screw to securely hold onto the stud.  So, sad and dejected, I came to accept that I would need to secure the shelves with ugly L brackets ( an extra $4 :/ ), should a certain baby choose to hang off said shelves or overzealously return a book.

Sssssigh, so you can see them here, spaced to hit the studs.  Kind of awkward, I know; but not as awkward as what's in that poop silo.  Anywho, after securing the strips to the wall, I glued and nail-gunned the hardwood lip pieces to the face, filled up the holes with caulking in hopes of avoiding paint touch ups, discovered it looked crappy and would need paint anyway, painted them, et voila!  Les livres du bebe.

I think they're kind of awesome, as I'm psycho-obsessed with utilizing every cubic inch of home space without looking junky.  So instead of books littered throughout the room or piled up on the nightstand, now they're shelved in a space I wasn't using for anything but hide and seek.  As Larry David would say, "prettyyyy...pretty good."

Tuesday, June 9, 2015

$20 Giant Wall Art (for those who can't otherwise decorate an empty wall)

I stole this idea from the internets, good ol' cyberspace.  Since I honestly have no idea what to do with a big empty wall, I figured you can't go wrong with a big-A canvas.


I found a fabric shower curtain I liked for $12, and then picked up four $2 furring strips.  I then made a critical error measuring in that I didn't give myself quite enough slack to comfortably pull the curtain around the wood.  Sigh, just give yourself a good two inches on all sides.  I got greedy and wanted the biggest possible canvas.  Not my greatest idea.


And then, of course, the handy Kreg pocket hole jig makes yet another blog appearance in joining the frame together.  And another error:  buying the crappiest, cheapest wood available.  Sigh again.  Probably worth ponying up the cash for wood that won't split if you breathe on it funny.

Anywho, once the frame was made, Chris and I carefully stretched the curtain over the wood as tightly as possible and stapled that sucker on there from behind with oodles of staples.


It could have been so much more perfect if I had just given myself a little more slack, but most people with normal brains probably won't know or care.

And here's one with a baby in it for a sense of scale.  And apparently some multi-vitamins I didn't notice.


In the end, I'm pretty darn happy with it.  It's like waking up in the freaking jungle, man.  :D

Monday, June 1, 2015

From the Chokey to a Place You Want to Be: The Bathroom Remodel


Shazam!  Who doesn't like before and after shots of home improvements?  Sociopaths, that's who.  So months and months ago, we broke ground for our much-overdo guest bathroom remodel.  Because really, it was getting silly to have plain, decor-less, brown rooms throughout a house you've lived in for years.

Here are some before-shots to give you an idea of what I'm talking about:

Nails that poked guests uncomfortably in the eyes :(


Sad little pedestal sink with mismatching soaps and construction-grade mirror :(


Tacky brown linoleum :(


Derelict lonely toilet :( (ok, not derelict)


Poor, empty walls that feel like an awkward silence :( 


Unfinished transition from overtly sexy hardwood :(

Sad bathroom is sad.  

SO, enough sad emoji, we thought, and went to work pulling up the baseboards and linoleum.  Turned out this is what was underneath.  Yes, yamahama, it's fright night.  And yes, there were several jokes about the poop hole beneath the toilet.  We're only human.   


As gung-ho as I am about home improvement projects, my enthusiasm stops at toilet removal, so good ol' trusty Christian manhandled the porcelain throne and sink out to the garage.  Gross.

And thus began an era in my life known as Tiling, Part II: The Reckoning.

See, the thing about tiling is that you think the difficulty of the job correlates to the size of the space.  Not so, my friends.  Not so.  This seemingly surmountable 3' by 8' little room proved to be a hearty beast of flooring vexation and turmoil.  And I could get into the woes of using mosaic tiles vs larger, conventional ones, but let's just not.  To heal, I just need to move on.  Suffice it to say that after   much splintered ceramic, many bruised hands (damn you, tile nippers), some tense moments involving mortar beginning to set around misaligned tiles, and some sheer grouting joy, it is done.  And that's all I have to say about that.


So eventually, work resumed on the rest of the bathroom.  Using 1x3 furring strips and 26-cent lattice strips, I nailed up some faux-wainscotting for suh-ooper cheap.  Cuz if you want anything while relieving yourself, it's the class that wainscoting brings to a modern living space.


And since the wainscoting added so much class, it made the ceiling look bare, so up went some crown moulding.  And a note about that, don't do it right after you reinstall the baseboards because you'll get all cocky and think you don't need to re-watch a tutorial about what angle to cut them.  Hint:  it's not 45 degrees like what totally makes sense.  Sigh...several day setback.  But dang if that don't look purdy transitioning the gray walls to the white ceiling.  (Side note: is it just me or is painting a way bigger deal than you always think it's going to be?  Not a fan of that portion.)


And then for my favorite part.  I got some fancy-pants moulding, painted it white, glazed it, cut it at 45 degree angles, used my trusty Kreg pocket hole jig to screw it together, and then popped that sucker on the mirror with oodles of mounting tape.


Schnaaaaazy, right?  I'll probably give the same treatment to our other mirrors but with cheapo 1x4s.


And then came the ch-ch-ch-transition piece.  Two things about this.  One, I suck at hand-nailing.  Two, I suck at paying attention to where I'm stepping in bare feet when twisted nails are poking out of an old transition piece.  Anywho, a quick stop for a tetanus booster, and I was ready to move on to the decor! (I wish I were kidding... When I lifted my foot up in horror, the whole piece of wood was  nailed to my foot.  Needless to say, loony toons screaming ensued.)


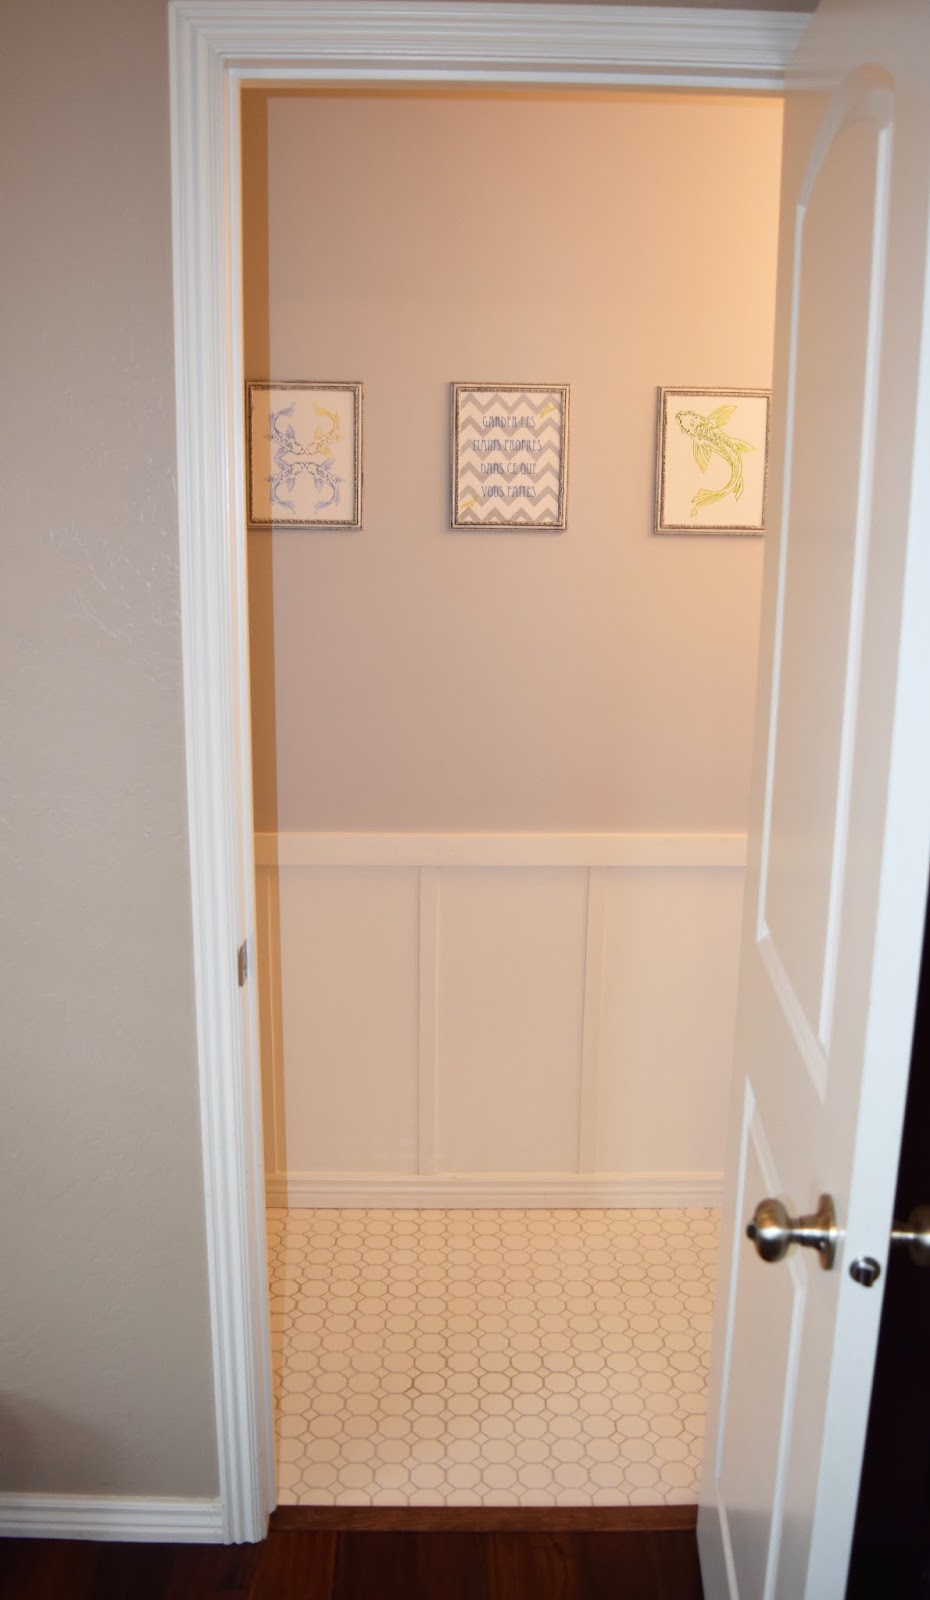
So here's the thing about me and decor.  I'm in waaay over my head.  I blame Pinterest for having so many amazing and doable ideas that they all just get stuck in the door at once, and I lay paralyzed about how to proceed.  Hence the several months involved in this remodel.  So eventually I went for the fool-proof, evenly-spaced pictures.


I used the amaze-balls Silhouette to help me make each of the three canvases.  And what's better in a bathroom than a pretentious french sign with a double-meaning about keeping your hands clean?


And then I drew a koi fish, scanned that fish into the computer, cut that fish out in vinyl to use as a template to allow me to make a, say what, ombre fish?


I got these ugly gold frames at the dollar store, painted them the same white as the mirror frame, glazed them as well, and then BAM.  Coordinating frames for $3.


And for some finishing touches, I did the same treatment to this sexy toilet box.  Perhaps too matchy matchy.  But regardless, sexy toilet box is sexy.  (ps--there's extra toilet paper in there.  I didn't want taboo, shameful toilet paper just out in the open like we're, what? A bunch of hillbillies?)


And for the piece de resistance, yeah.  It's what you think.  I tied a ribbon around the garbage can.  I was hoping it would discourage guests from actually putting garbage in there (i.e., because you don't put trash in something with a ribbon around it), but I was sadly mistaken.  Maybe if I put trinkets at the bottom... No, no, you're right.  Too much.


And oh yes, this incroyable pottery was made by none other than my super-cool mum.  She's cool like that.  I may have stolen some of them when she was in a drunken haze of pain medication after a jogging accident.  As you do.


Anywho, that completed Project Chokey.  Now to tackle the giant blank wall in the living room.  You know.. the first thing everyone sees when they walk in.  Oh, home decor, how you elude me.